


Integrating Microsoft Clarity with Consent Mode v2 & Cookie Control

Microsoft Clarity now supports Consent Mode v2, giving you more control over how session recording and analytics behave depending on user choices. This guide explains how to integrate Clarity with Cookie Control so that Clarity only activates once the user has granted the required consent.


How to add Microsoft Clarity consent mode v2 with Cookie Control
Step 1: Creating a Microsoft Clarity Project
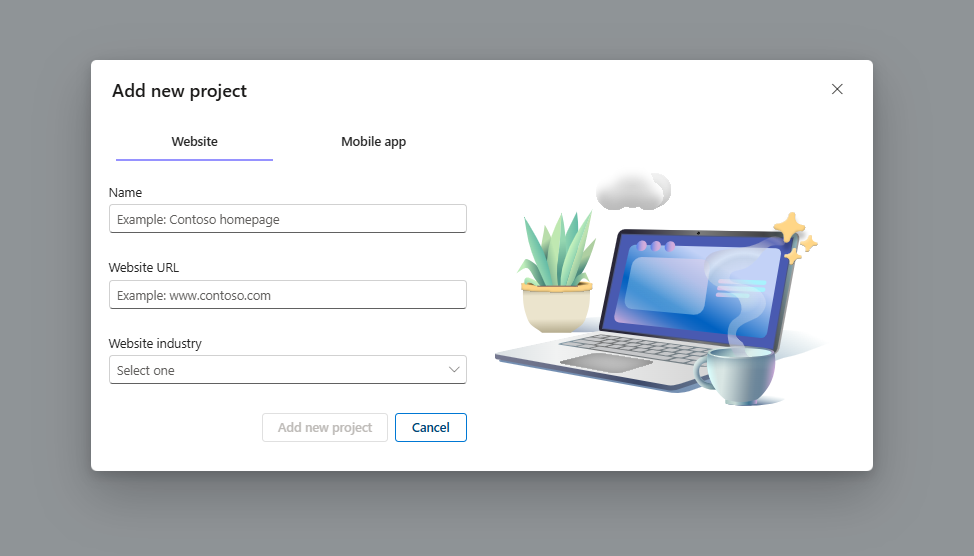
- Within the Microsoft Clarity User Area, navigate to My Projects and create a new project or choose an existing one.
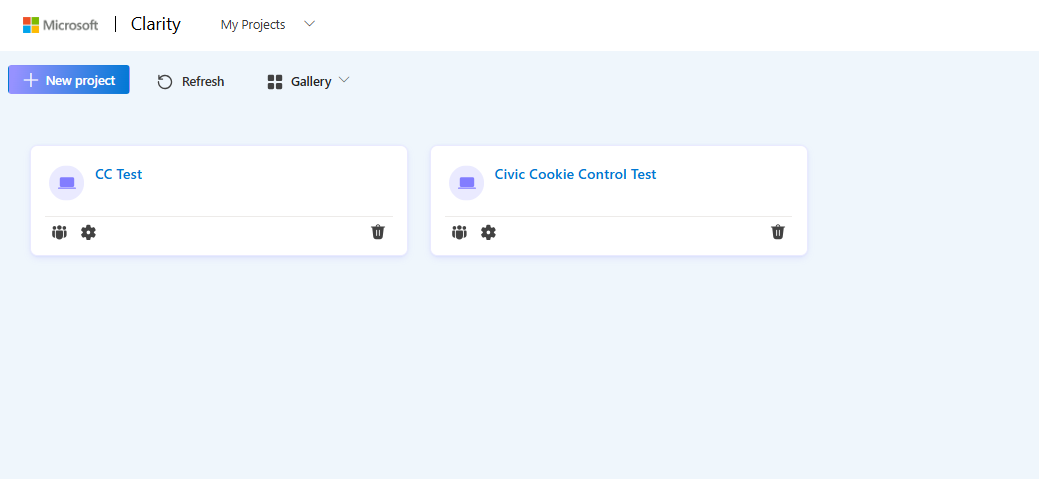
- If creating a new project fill in the details required ensuring the Website URL matches the site you wish to track.
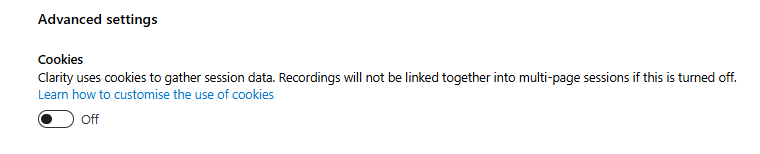
Step 2: Disable Cookie setting default
- Within the Microsoft Clarity User Area, navigate to Settings and select Setup from the side menu.

- Within the advanced settings, switch Cookies to Off. This will ensure that Cookies will not be set until explicit consent has been granted.
Step 3: Integrating Microsoft Clarity with Consent Mode v2
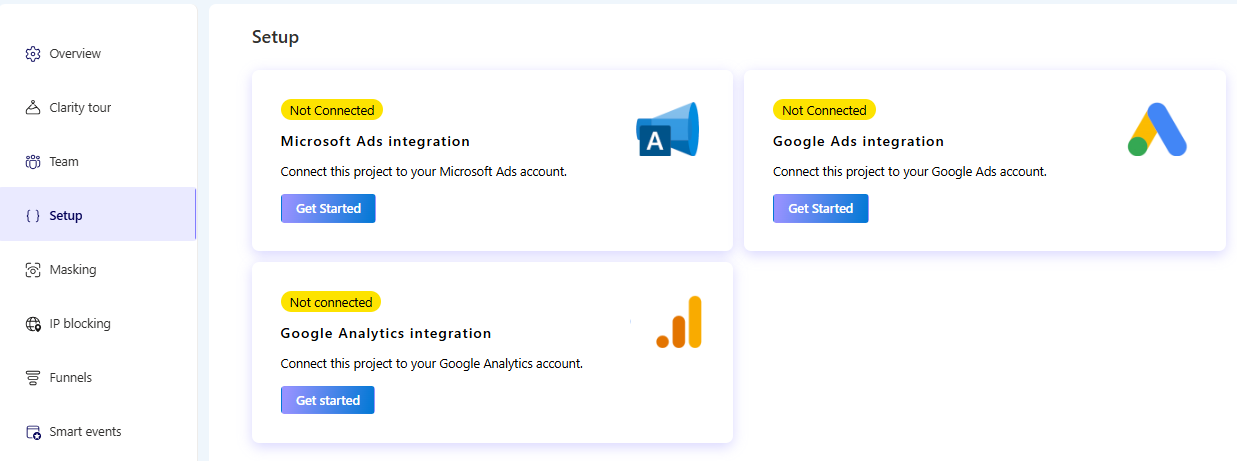
- Within the Microsoft Clarity User Area, navigate to Settings and select Setup from the side menu.
- Use the View your store button to preview the changes and confirm the banner is displaying correctly.
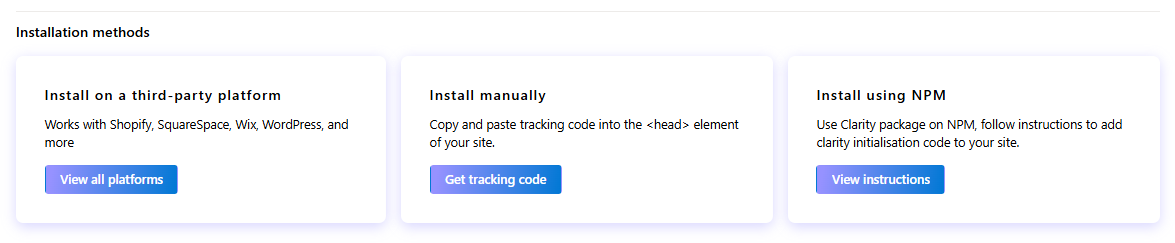
- Select Get Tracking Code from the Install manually option of the installation methods section.
- Copy the script for manual installation.
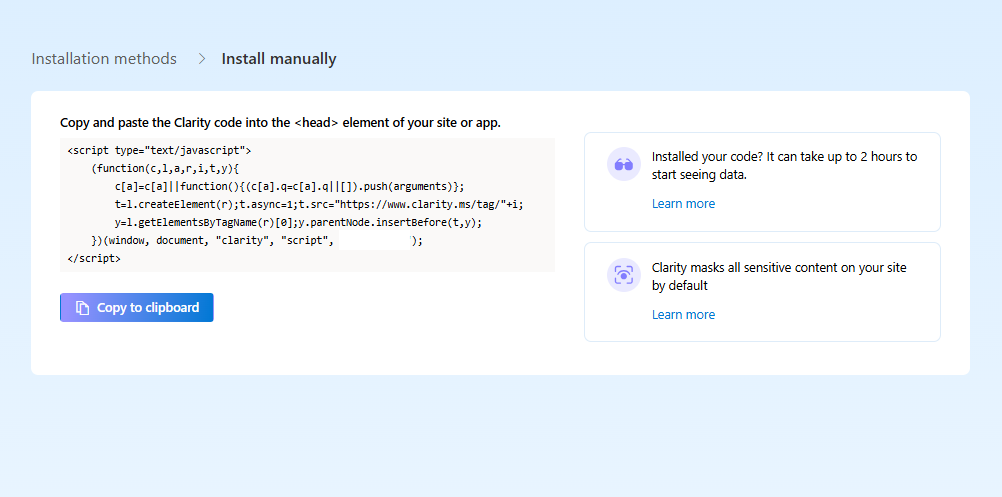
- Paste the copied script within the head of your webpage and update the initial consent of the clarity parameters to denied.
Within your Cookie Control configuration object update the consent state of these parameters with the optional cookies handler functions.
Need Help?
If you encounter any issues or need support, please contact us via our help page: Cookie Control Support
For full documentation and further guides for working with Cookie Control please visit our documentation